We’ll cover the ground on how to display frames (from a live UDP video stream) on a GUI using Python. We’ll use av for decoding the video. This will make this work with mostly any video that ffmpeg also supports (which is basically all), but we won’t add logic to ensure the play rate matches the encoded FPS, since this is meant for live video. We’ll use Dear PyGui for the GUI management. Dear PyGui is fast, light on its dependencies and cross-platform.
Let’s start writing a simple generator for the outputing video frames.
import av
import sys

fn = sys.argv[1]

def load_video(fn):
    video = av.open(fn)
    fmt = 'rgb24'
    for f in video.decode():
        cf = f.to_ndarray(format=fmt)  # convert to rgb
        yield cf
    video.close()
Simple stuff. We’re receiving the path of the video source from an argument. The load_video receives the path for the video source, opens it and starts decoding. Every decoded frame is converted to RGB and yielded from the generator.
Next, let’s create the GUI.
import dearpygui.dearpygui as dpg

w,h,d = 1280*2 ,720*2 ,3  # the width and height values are overdimensioned to fit a wider range of resolutions
raw_data = np.zeros((h,w,d), dtype=np.float32)
We’ll use a raw texture, as they are high performance and the preferred method when updating large textures every frame. This is exactly our use case, since Dear PyGui does not have a default video widget (as of version 1.3.1) and we update each frame to the GUI as we receive it.
In this use case we’ll create a overdimensioned texture to allow frame size to change during the stream. If you know the resolution of the video doesn’t change, you can read them from the first frame and configure the texture afterwards.
This raw_data array will be the source of data for the GUI. Next, we’ll create the texture repository.
with dpg.texture_registry(show=False):
    dpg.add_raw_texture(w, h, raw_data, format=dpg.mvFormat_Float_rgb, tag="texture_tag")
We’re predefining the texture format. This is compatible with the format chosen for the conversion happening inside the generator, with the av library. Let’s write the update function.
def update_dynamic_texture(new_frame):
    global raw_data
    h2, w2, d2 = new_frame.shape
    raw_data[:h2, :w2] = new_frame[:,:] / 255
The update function receives the new frame of the video. We’ll get the shape of the new frame, since we’re allowing for it to change over time and be drawn over the same texture. The caveat here is that it must be encoded with the same format (in our case, RGB). The frame received comes with pixels within the interval [0, 255] (8 bits per color channel), but Dear PyGui uses a float in the [0.0, 1.0] range, so we divide the new frame by 255. Let’s create the window.
with dpg.window(label="Video player"):
    dpg.add_image("texture_tag")
It’s that easy. This is one of the reasons Dear PyGui is so great. The .window method creates a window and a context in which we can add other items on that same window. In our case, we just added a image element that renders the previously defined texture. Let’s take care of the viewport and setup of the GUI.
dpg.create_viewport(title='Dashboard', width=800, height=600)
dpg.setup_dearpygui()
dpg.show_viewport()
Again, very simple stuff. We’re creating a viewport with a standard size. Afterwards, we just do the standard setup and display that viewport. Normally, we would now run start_dearpygui to start the automatic render loop, but we’ll define our own render loop to receive and feed the new frames to the GUI.
video_gen = load_video(fn)
for f in video_gen:
    if dpg.is_dearpygui_running():
        update_dynamic_texture(f)
        dpg.render_dearpygui_frame()
    else:
        break  # deal with this scenario appropriately

dpg.destroy_context()
We start by creating the video generator with load_video. Afterwards, we iterate over the video frames from the generator. If the Dear PyGui backend is running, we render the obtained frame. At the end of the script, we destroy the GUI context. I ran the script giving the path to the video source as the first (and only) argument. On my system, the result is the following.
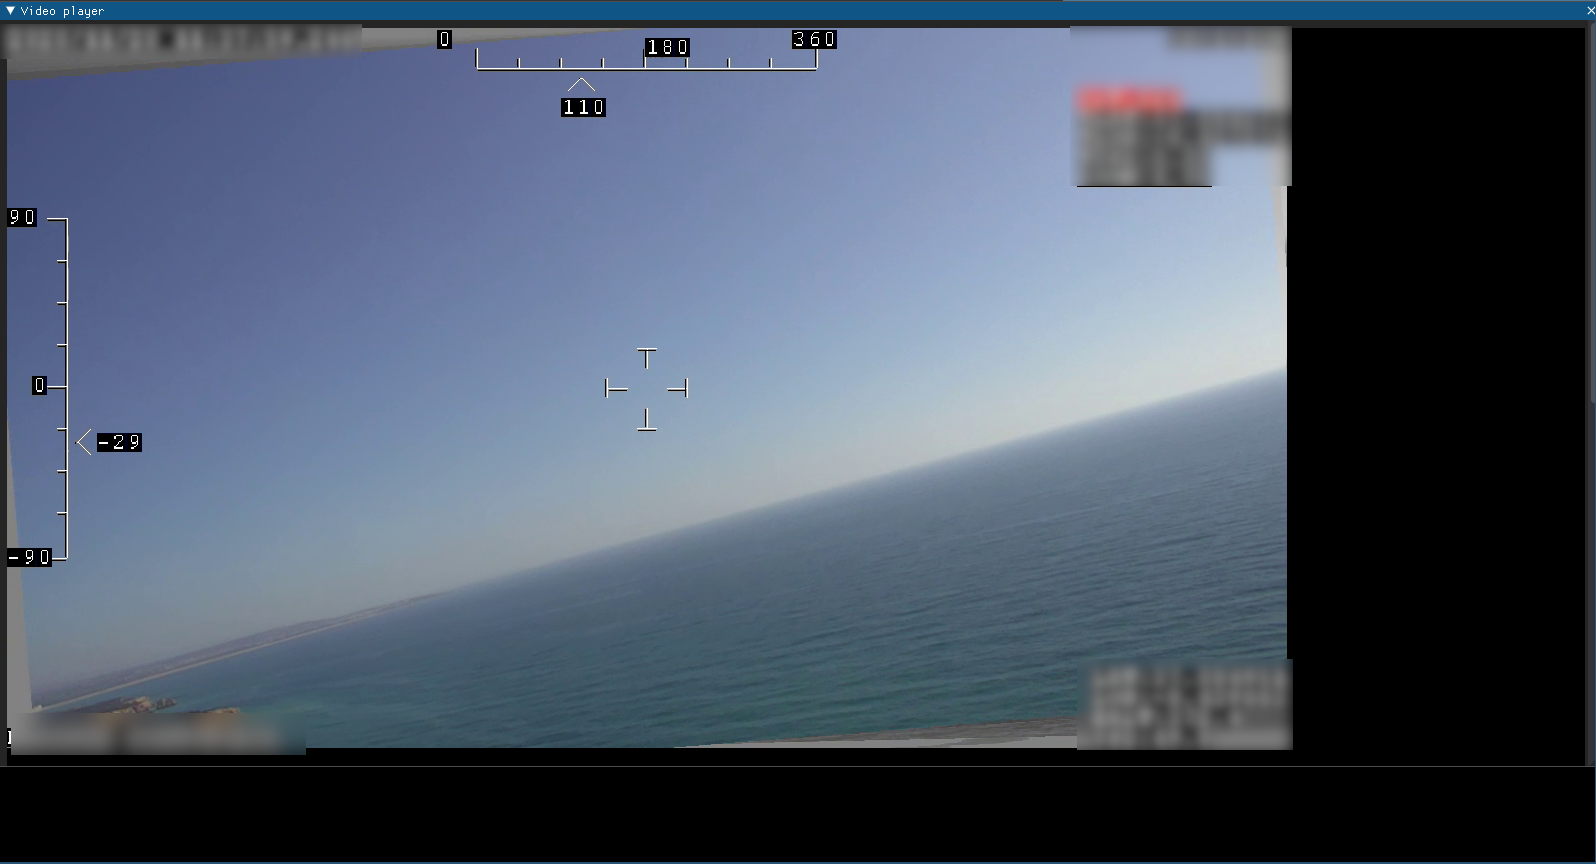
I’m running this program on a Linux host, with the i3 window manager. Dear PyGui created the (resizable) video window inside the view port. This is basically a window inside the program window.
My test stream has several resolution changes over its duration. The other resolution is smaller then the one displayed above.
This is it. Very simple. This is not an ideal GUI, but it will get you started.
With this approach, we need to make sure we have an oversized texture that is bigger than any video resolution we might receive. A possible solution could be to create a new window and texture anytime a new resolution comes along and render the new frame on the texture for its resolution. Or, anytime a bigger resolution comes along, simply replace the old one with a bigger one that fits the new resolution.
We could also set the video window as primary, and it basically mean the viewport window and the video window are the same, i.e. no window inside window. All other windows would be rendered above the video.